
A LINK TO THE PAST · SNES WALKTHROUGH
The Skull Woods
Crystal III · a dungeon scattered in the woods.
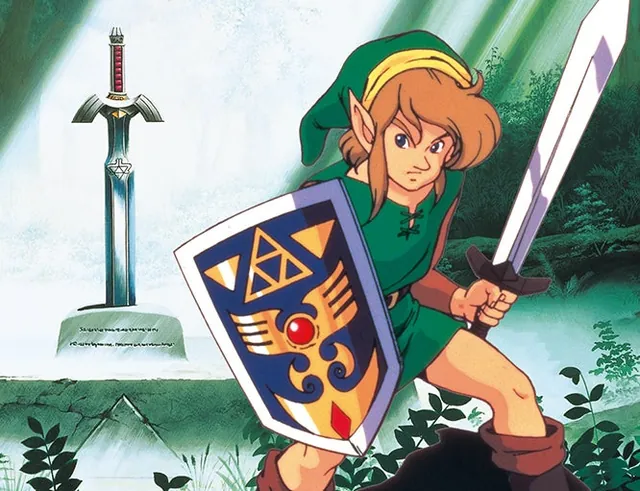
Original SNES route. GBA puzzles can differ, especially in the Ice Palace.
The key to this chapter
Alternate exits and holes to go around interior walls. After the Big Key, blow up the crack leading to the lever that opens access to the large chest.
Before you set outMoon Pearl · Hammer · Hookshot · Bombs · Magic available
RewardsFire Rod and third crystal
Dungeon floor maps 2 floors
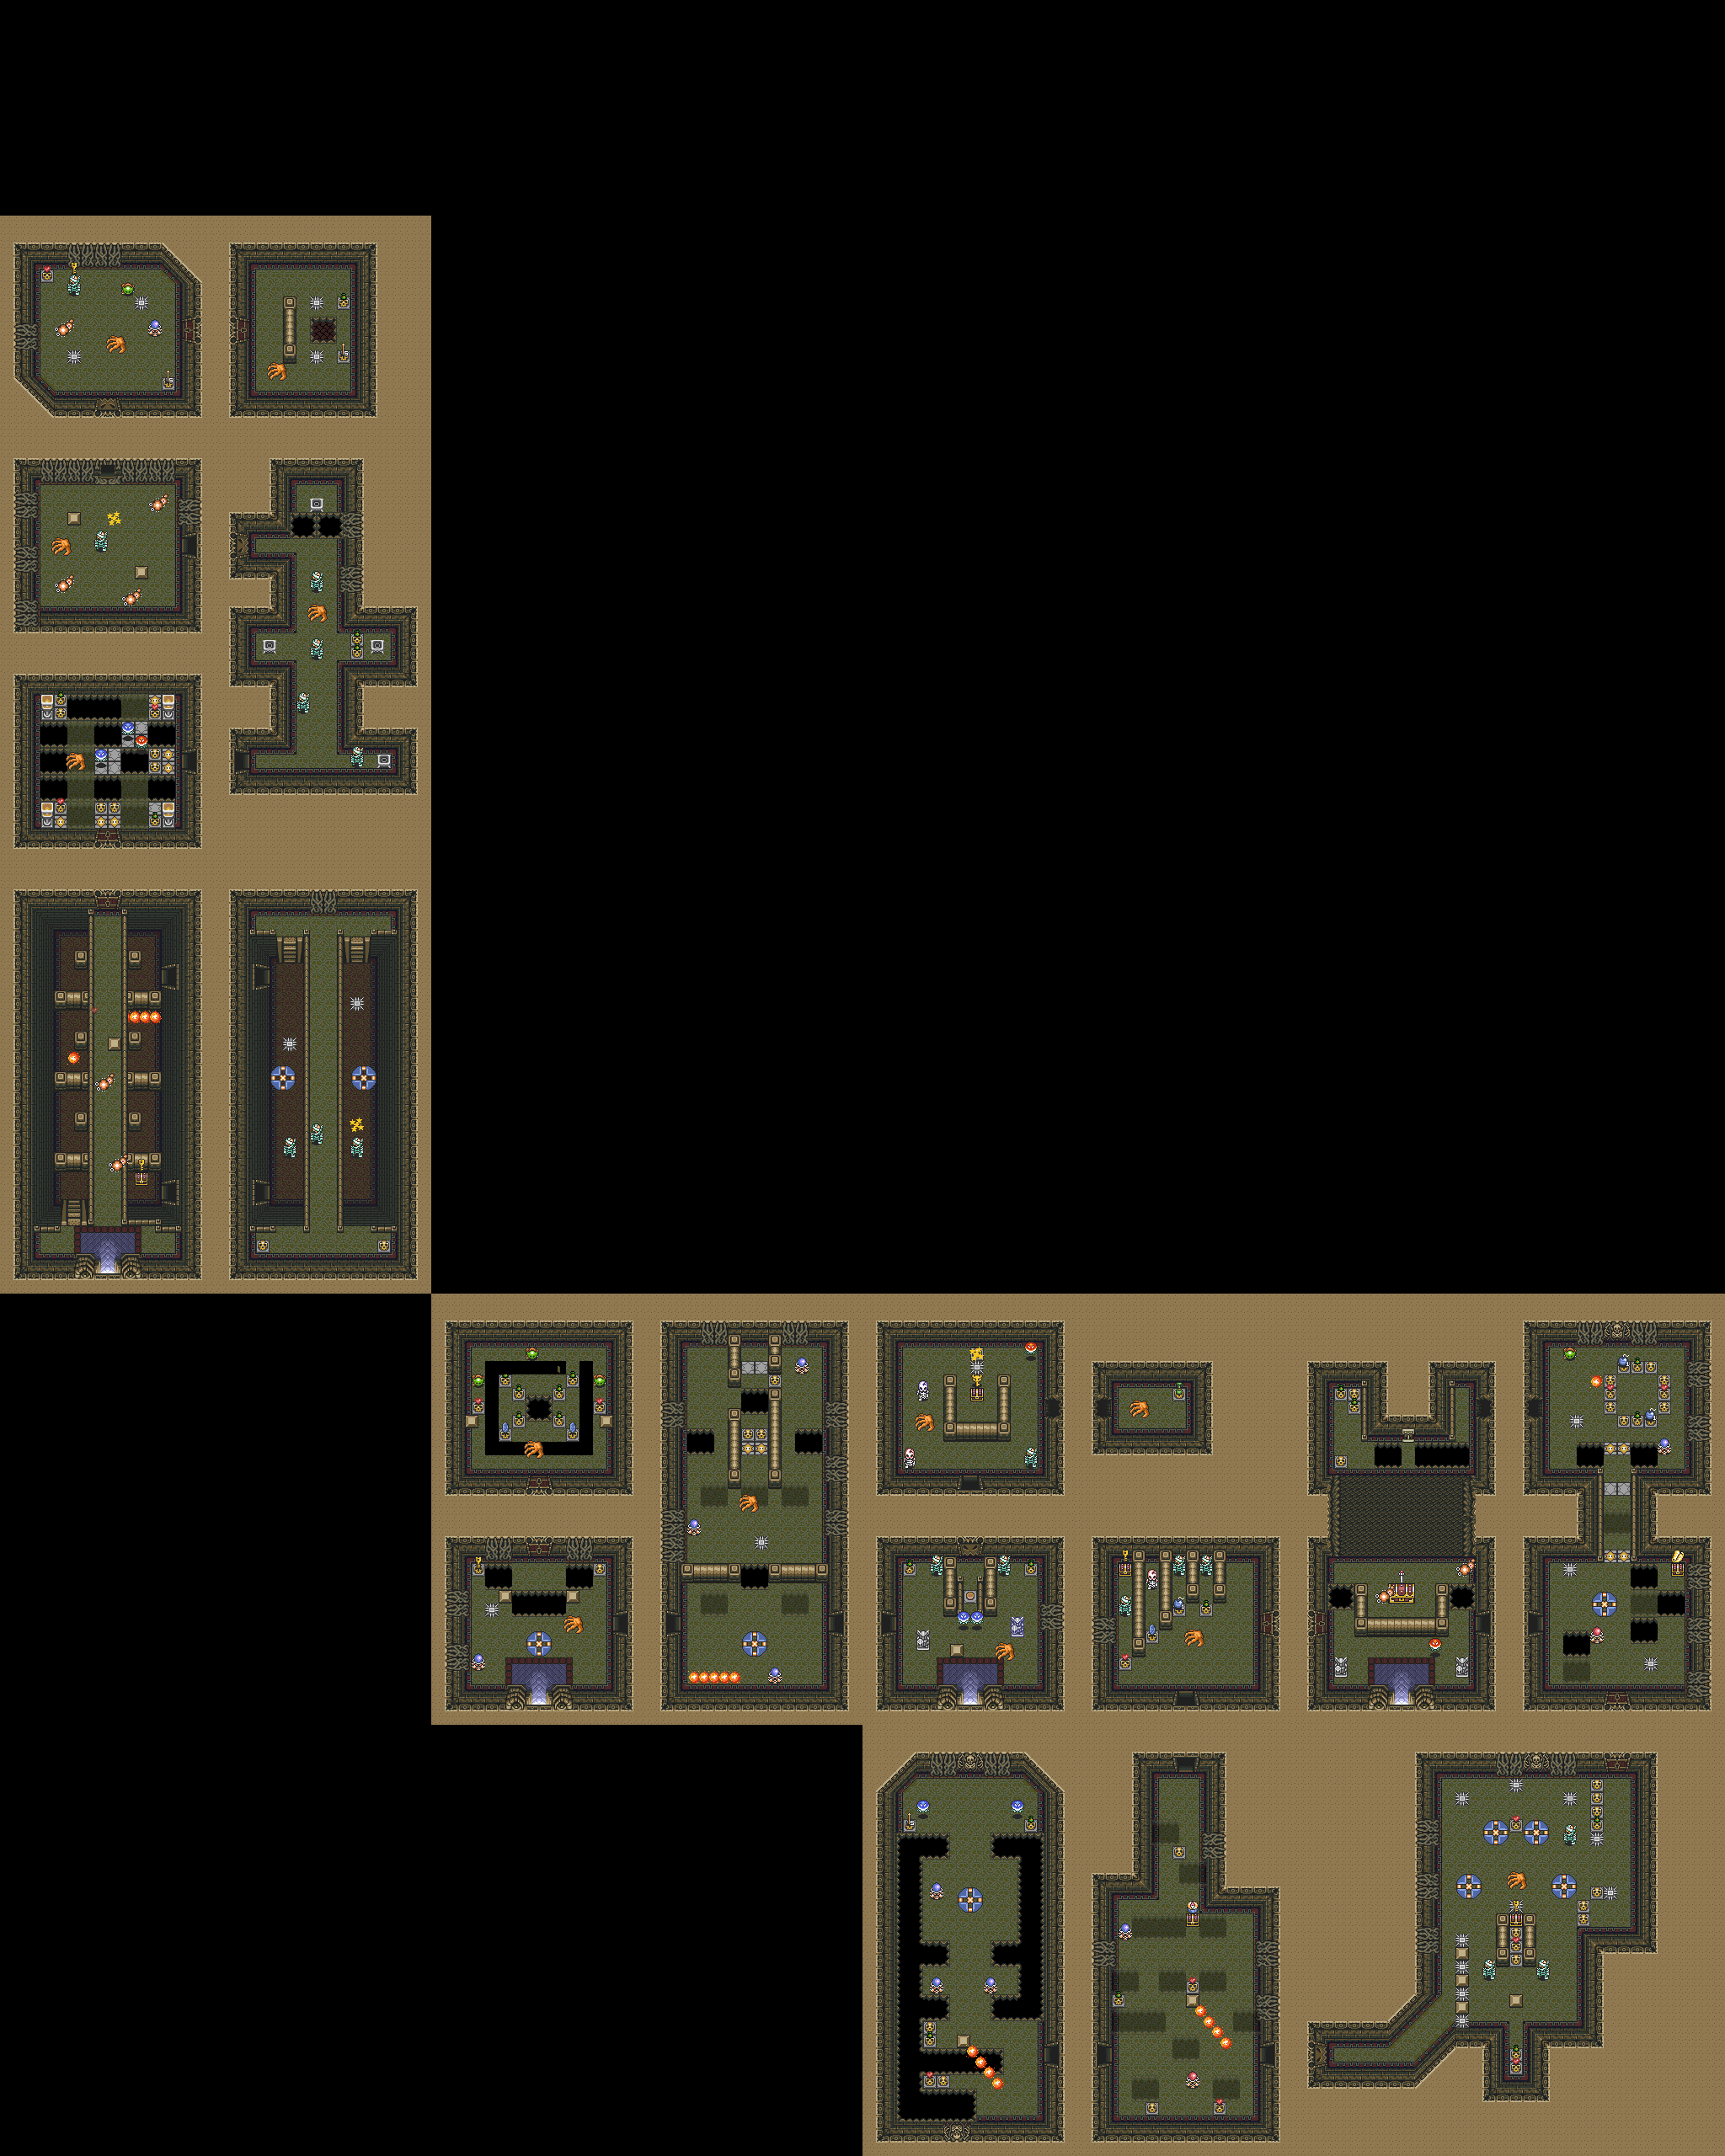
Choose a floor, then enlarge its map. Stairs, treasure chests and passages are annotated on the original game maps.
From the bridge east of the bomb shop, go back up to the broken bridge. Above, a grass arrow indicates where to use the Hookshot towards the west bank. Continue north then west, past the cemetery and the Dark Sanctuary, then reach the village and the forest to the north.
Drop into the openings to collect keys, map and compass. Move as soon as a shadow of a hand appears above Link.
In the middle area, move the statue onto the switch to keep the door open. Take the Big Key behind this passage.
Enter the big treasure chest section from the forest. Bomb the cracked wall, then pull the lever to remove the obstacle and open the treasure chest.
Go out and reach the northwest end of the woods. Burn the large skull obstruction with the Fire Rod.
Use the star switches to change the floor holes and cross the room. Light the torches, cut the curtain of vines, then defeat the Gibdo carrying a key.
Avoid the hands and jump into the arena. After victory, collect heart and crystal.
Mothula
The Fire Rod and sword both damage Mothula. Watch the moving floor and spikes, and keep room to retreat instead of chasing every opportunity to attack.
Your checked steps are shared with the interactive ALttP guide in this browser. Use the progress backup panel in the main guide to keep a copy.
Sources & notes
Original SNES route. GBA puzzles can differ, especially in the Ice Palace.
Consult the reference of this chapter ↗Progress backup ↗