
A LINK TO THE PAST · SNES WALKTHROUGH
The Tower of Hera
Third pendant · don't forget the Pearl.
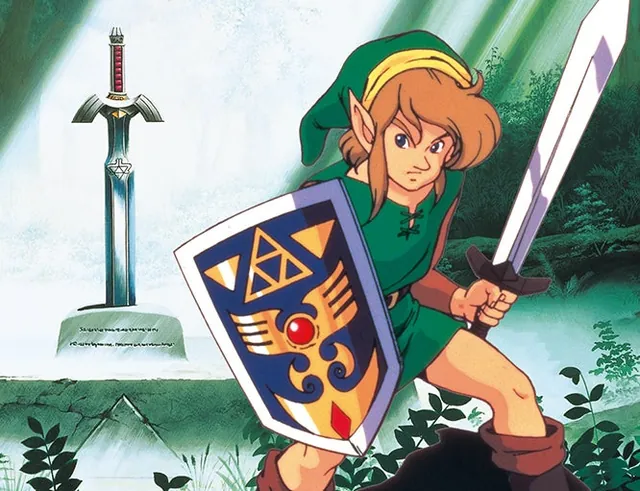
Original SNES route. GBA puzzles can differ, especially in the Ice Palace.
The key to this chapter
On the floor above the large chest, activate the star near the spinning flames. Approach the hole north of the bumper from its northern edge and drop down.
Before you set outMagic Mirror · Lantern
RewardsMoon Pearl and last pendant
Dungeon floor maps 7 floors
Choose a floor, then enlarge its map. Stairs, treasure chests and passages are annotated on the original game maps.
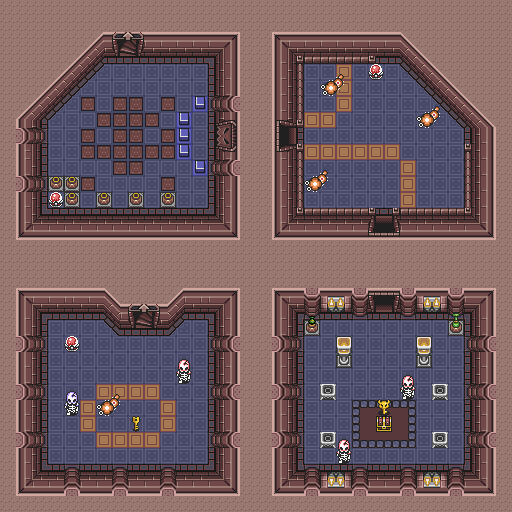
Lower the blue blocks and go down. Take the small key, then adjust the crystal so you can go back up.
Collect the dungeon map. Crystal switches change the colored barriers; star switches change the floor holes.
Open the northwest passage, survive the flying tiles then reach the room with four torches. Light them to reveal the Big Key.
Go back up and take the upper stairs. Push the beetles away from the holes, then collect the compass.
On the upper floor, use the star to open the correct hole. Fall from its northern edge and open the chest for the Moon Pearl.
Take the stairs again. Keep the hearts under the pots to heal before Moldorm, then enter his arena.
After victory, take heart and pendant. Also check that the Pearl is in the inventory before leaving the mountain.
Moldorm
Only hit the tip of its tail. Keep the center of the platform and avoid exchanges at the edge. A fall resets his life; return via the stairs.
Your checked steps are shared with the interactive ALttP guide in this browser. Use the progress backup panel in the main guide to keep a copy.
Sources & notes
Original SNES route. GBA puzzles can differ, especially in the Ice Palace.
Consult the reference of this chapter ↗Progress backup ↗