
A LINK TO THE PAST · SNES WALKTHROUGH
Master Sword and the Sorcerer
The victory which opens a second adventure.
Original SNES route. GBA puzzles can differ, especially in the Ice Palace.
The key to this chapter
Return his large energy balls with the sword. Stay away from fragmenting projectiles and lightning.
Before you set outThree pendants · Moon Pearl
RewardsMaster Sword and lasting access to the world of Darkness
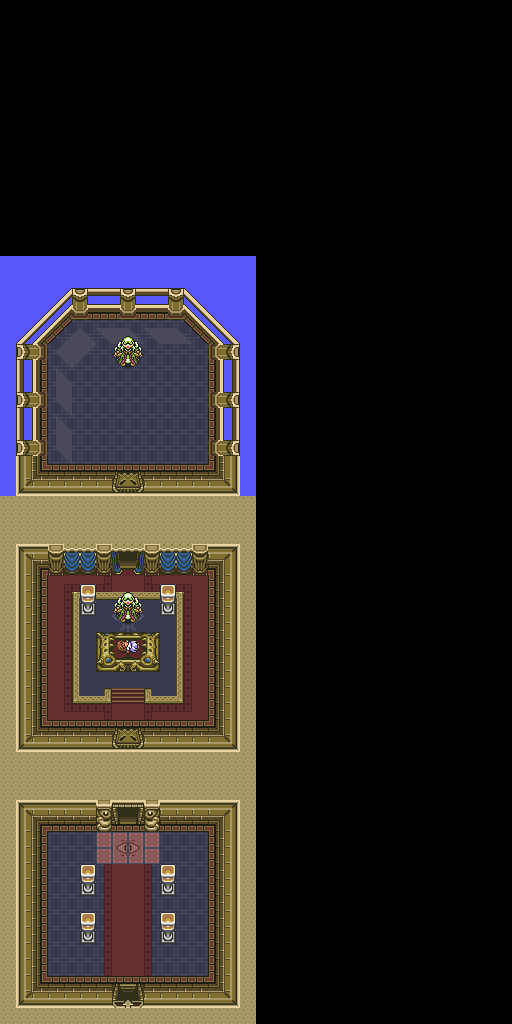
Dungeon floor maps 6 floors
Choose a floor, then enlarge its map. Stairs, treasure chests and passages are annotated on the original game maps.
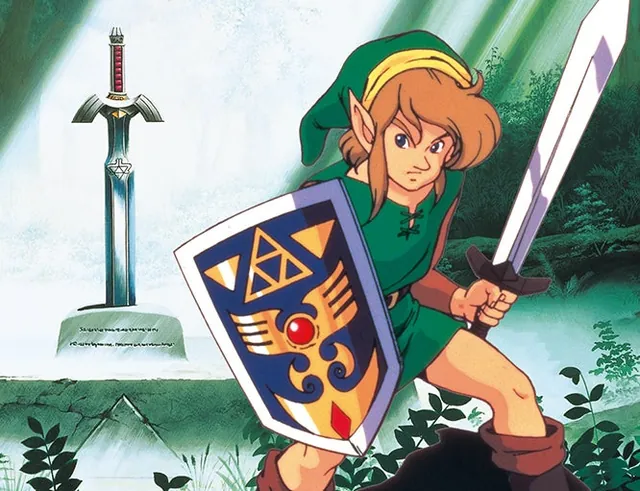
In the Lost Woods, reach the pedestal clearing. With the three pendants, remove Master Sword; the other swords in the wood are decoys.
Follow Zelda's call to the Sanctuary. The rescue now continues at the top of the castle.
On the upper terrace of the castle, hit the magic barrier with Master Sword and enter the tower.
Go up, light the dark rooms and eliminate the guards to get the keys. Pots serve as weapons and contain resources.
After the scene with Zelda, cut the curtain behind Agahnim to access his arena.
Return his appropriate attacks until he is defeated. You are transported to the top of the Pyramid.
If Link remains a rabbit, return to Hera for the Moon Pearl. The Mirror returns to the Light and leaves a temporary return portal.
Agahnim
Stand in front of him to return the big balls. When it moves to the top center to summon lightning, move off its axis. The sword does not directly harm him.
Your checked steps are shared with the interactive ALttP guide in this browser. Use the progress backup panel in the main guide to keep a copy.
Sources & notes
Original SNES route. GBA puzzles can differ, especially in the Ice Palace.
Consult the reference of this chapter ↗Progress backup ↗